

QuickBooks
QuickBooks integration syncs approved invoices from Coyote Measurement to QuickBooks Online (QBO).
| Coyote invoice type | Pushed to QuickBooks as | Typical use |
|---|---|---|
| Customer Invoice | QBO Invoice (Sales / AR) | Bill a customer partner |
| Carrier Settlement | QBO Bill (Expenses / AP) | Pay a carrier vendor |
Open Admin → Integrations in the app to install and configure QuickBooks.
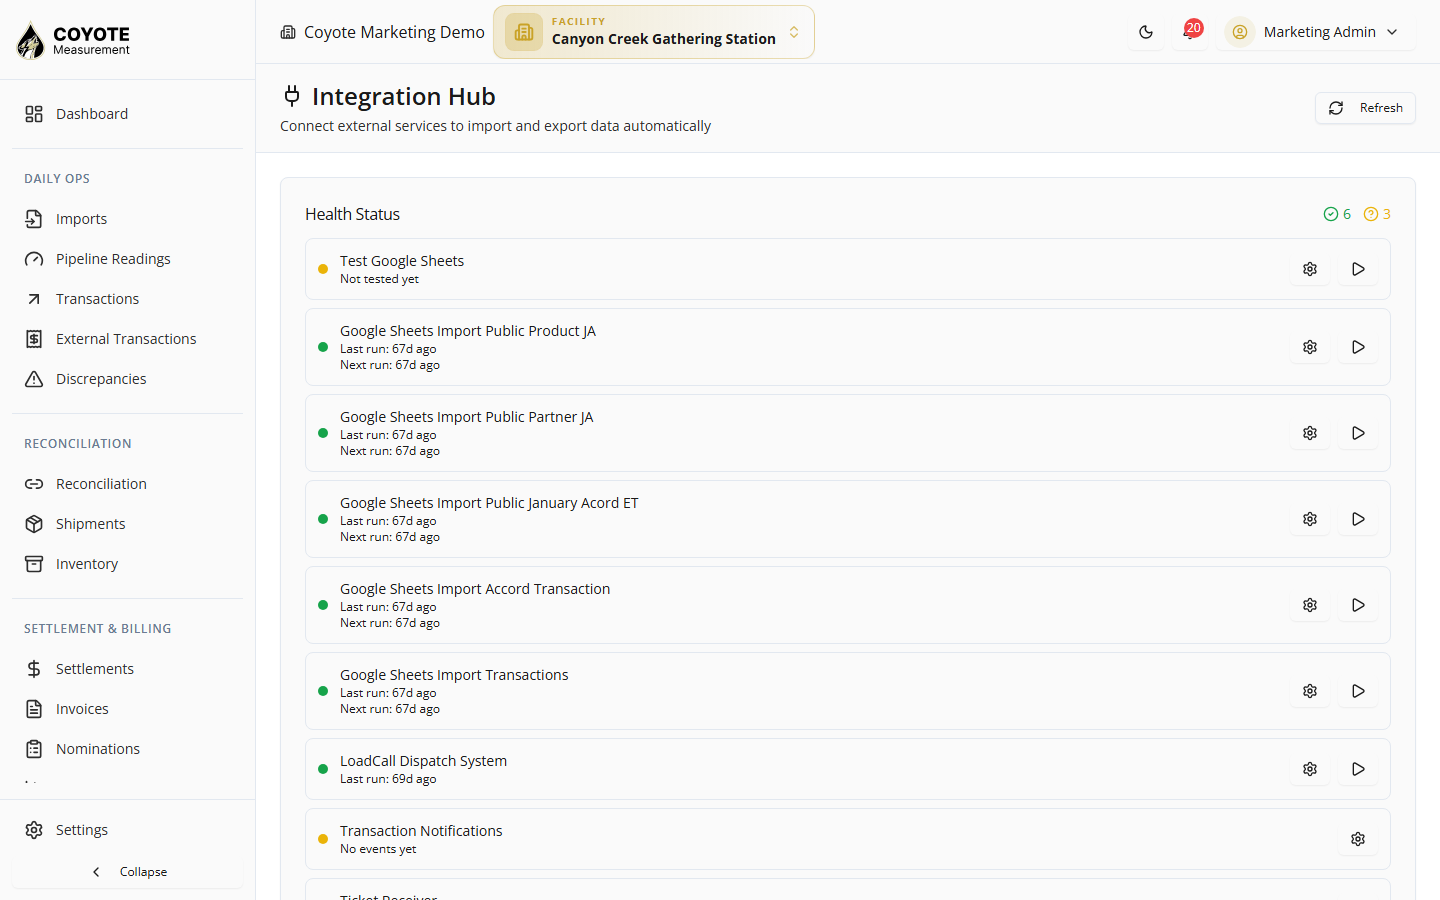
How it fits in the full flow
QuickBooks is the last step — accounting export after Coyote has calculated charges and created invoices.
flowchart LR A[Facility] --> B[Partners] B --> C[Product] C --> D[Rate Card] D --> E[Service Agreement] E --> F[Transactions] F --> G[Generate Charges] G --> H[Approve Charges] H --> I[Generate Invoices] I --> J[Approve Invoice] J --> K[QuickBooks]| Phase | Coyote setup | QuickBooks |
|---|---|---|
| Master data | Facility, Partners, Product, Rate card, Service agreement | — |
| Operations | Transactions | — |
| Settlement | Generate & approve charges → generate & approve invoices | Connect, map, push |
| Accounting | — | QBO Invoice or Bill |
Before you start
- Complete Coyote master data and operations below so charges and invoices exist before you push to QuickBooks.
- A QuickBooks Online company (sandbox or production).
- Access to Integrations and Invoices, as assigned by your administrator.
Coyote setup required before QuickBooks
Configure the following in Coyote first. Without them, Generate Charges and Generate Invoices will not produce records to push.
Facility
Admin → Facilities
| What to set up | Why it matters |
|---|---|
| Destination terminal or site (for example Kinder Morgan Three Rivers) | Transactions and settlements are facility-scoped; select the active facility in the app header |
| Location / coordinates (optional) | Mapping and reference |
Partners
Admin → Partners
| Partner type | Typical role | QuickBooks mapping |
|---|---|---|
| Producer | Origin / lease (hauling) | QBO Customer only if you invoice producers (AR) |
| Carrier | Hauling vendor you pay | QBO Vendor (required for carrier settlement bills) |
| Customer | Receivable counterparty | QBO Customer (required for customer invoices) |
Set relationship correctly:
| Billing direction | Partner relationship | Example |
|---|---|---|
| You pay them (AP) | Vendor + they do for us → Hauling | Carrier for on-site hauling |
| You bill them (AR) | Customer | Producer or buyer you invoice |
→ Partners
Product
Admin → Products
| What to set up | Why it matters |
|---|---|
| Product catalog (for example Crude Oil) | Transactions and rate cards reference a product |
| Default API gravity (if used) | Volume and quality on tickets |
→ Products
Rate card
Admin → Rate Cards
| What to set up | Why it matters |
|---|---|
| Rate card type (for example Carrier Settlement for hauling) | Drives how Generate Charges calculates amounts |
| Distance tiers or other rate structure | Mileage-based hauling uses distance tiers |
| Active rate card version | Draft versions are not used for settlement |
| Effective date on or before transaction dates | Charges match the correct period |
→ Configure in app under Admin → Rate Cards (see Trucking / Hauling on the Site for a full hauling example)
Service agreement
Admin → Service Agreements
| What to set up | Why it matters |
|---|---|
| Partner (for example carrier) | Links billing to the correct counterparty |
| Active rate card version | Required for charge generation |
| Service type (for example Hauling) and direction (They Provide for carrier AP) | Matches hauling settlement model |
| Active status and effective date | Draft agreements are not used |
→ Configure in app under Admin → Service Agreements
Transactions and charges
Daily Ops → Transactions then Settlement & Billing → Settlements
| Step | Action |
|---|---|
| 1 | Create transactions (volume, miles, origin, carrier, report day) |
| 2 | Generate Charges for the settlement period |
| 3 | Approve charges in Payables or Receivables |
Only after this can you Generate Invoices and push to QuickBooks.
→ Transactions · Trucking / Hauling on the Site · Settlements
QuickBooks setup and sync
The steps below assume Coyote master data, transactions, and approved charges are already in place.
Step 1 — Install QuickBooks
- Go to Admin → Integrations.
- Open the Browse tab and find QuickBooks.
- Click Configure (or open an existing QuickBooks integration).
- Complete Connection first (Step 2), then click Install to create the integration record for your organization when prompted.
If the integration is already installed, open it from the Installed tab to manage connection, mappings, and event history.
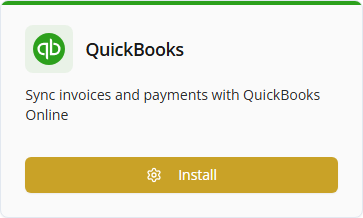
Step 2 — Connect QuickBooks Online
- On the QuickBooks integration page, open the Connection tab.
- Click Connect QuickBooks.
- Sign in to Intuit and authorize access to your QBO company.
- Confirm the status shows Connected (company name and account email appear).
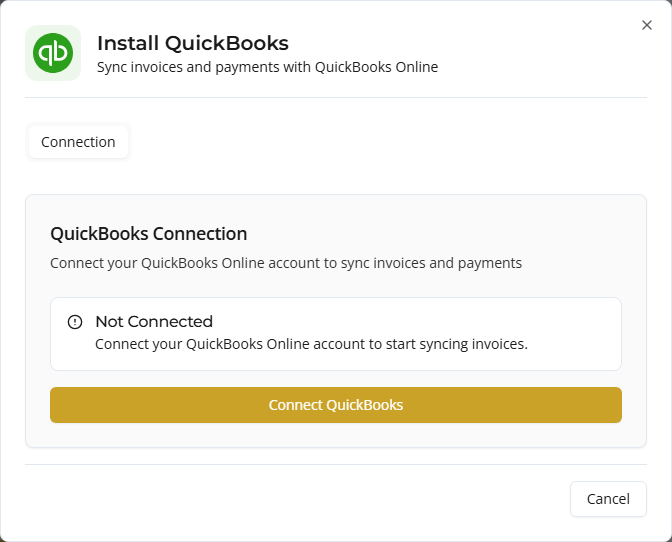
Connection actions
| Action | When to use |
|---|---|
| Refresh | Reload OAuth status after reconnecting in QBO |
| Run Connection Test | Verify API access after setup |
| Disconnect | Remove the QBO link for this org |
Step 3 — Default item and account mappings
On the QuickBooks integration page, open the Mappings tab.
| Setting | Used when pushing |
|---|---|
| Default Item | Line items on Customer Invoices (QBO Invoice / Sales) |
| Default Account | Line items on Carrier Settlements (QBO Bill / Expense) |
- Select a default QBO Item for customer invoice lines.
- Select a default Expense account for carrier bill lines.
- Save mappings.
These defaults apply when no more specific account mapping exists for a charge line.
After QuickBooks is connected and the integration is installed, the Mappings and Events tabs appear on the same configuration dialog (same layout as the Connection tab above).
Step 4 — Review event history (optional)
On the QuickBooks integration page, open the Events tab to review integration run history — connection tests, single-invoice pushes, and batch push runs.
Use this tab to troubleshoot failed pushes (missing mapping, connection errors, and so on).
Step 5 — Map partners to QuickBooks
Each Coyote partner that receives invoices or settlement bills must be mapped to the correct QBO entity.
- Go to Admin → Partners.
- Open the partner (for example your carrier for hauling settlement).
- On the partner Overview tab, find QuickBooks Mapping (visible when QuickBooks is connected).
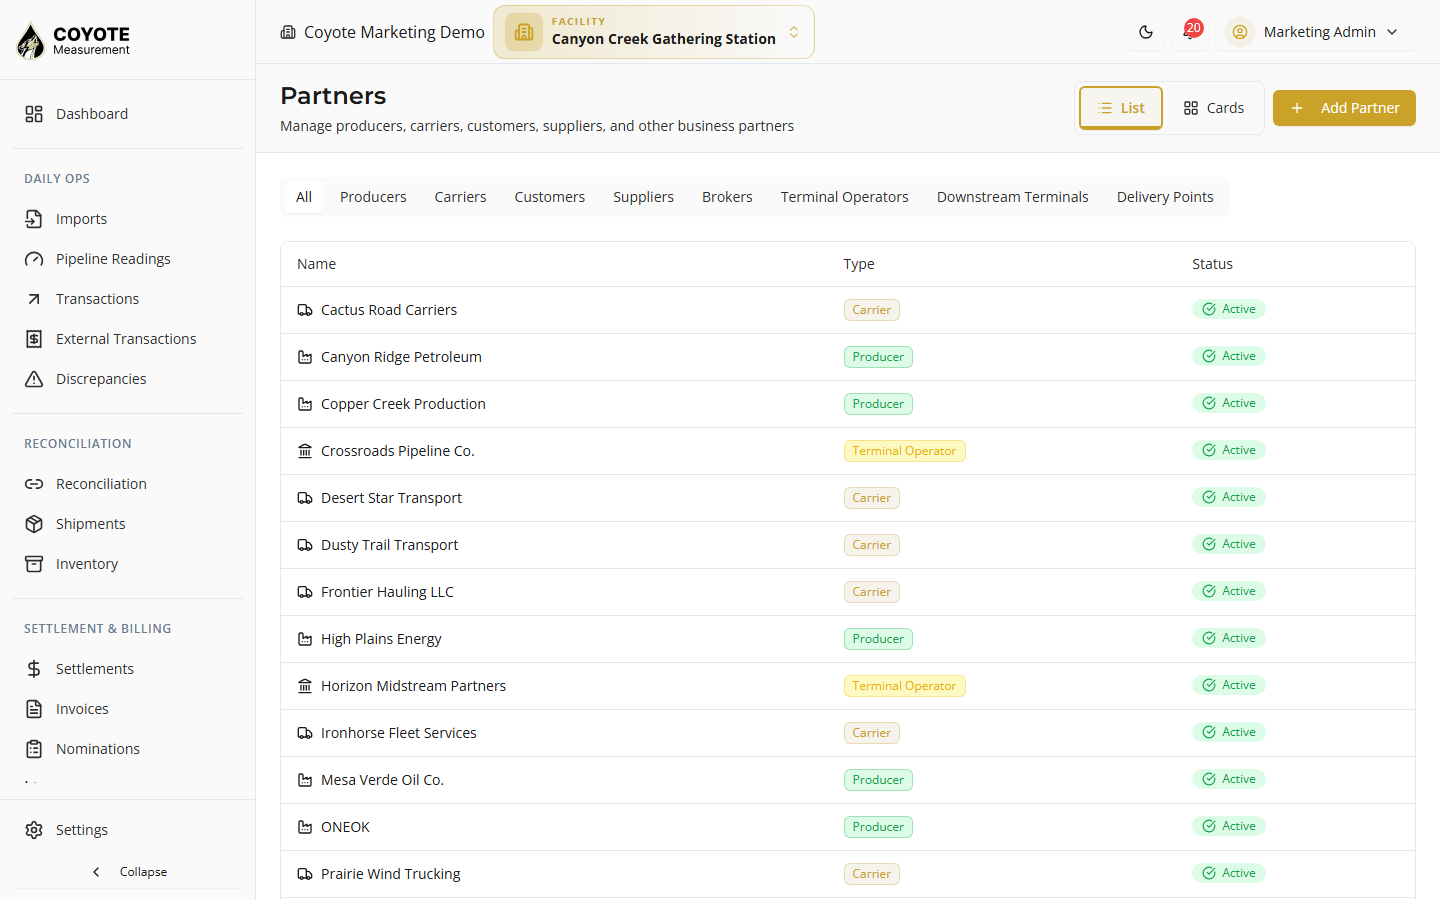
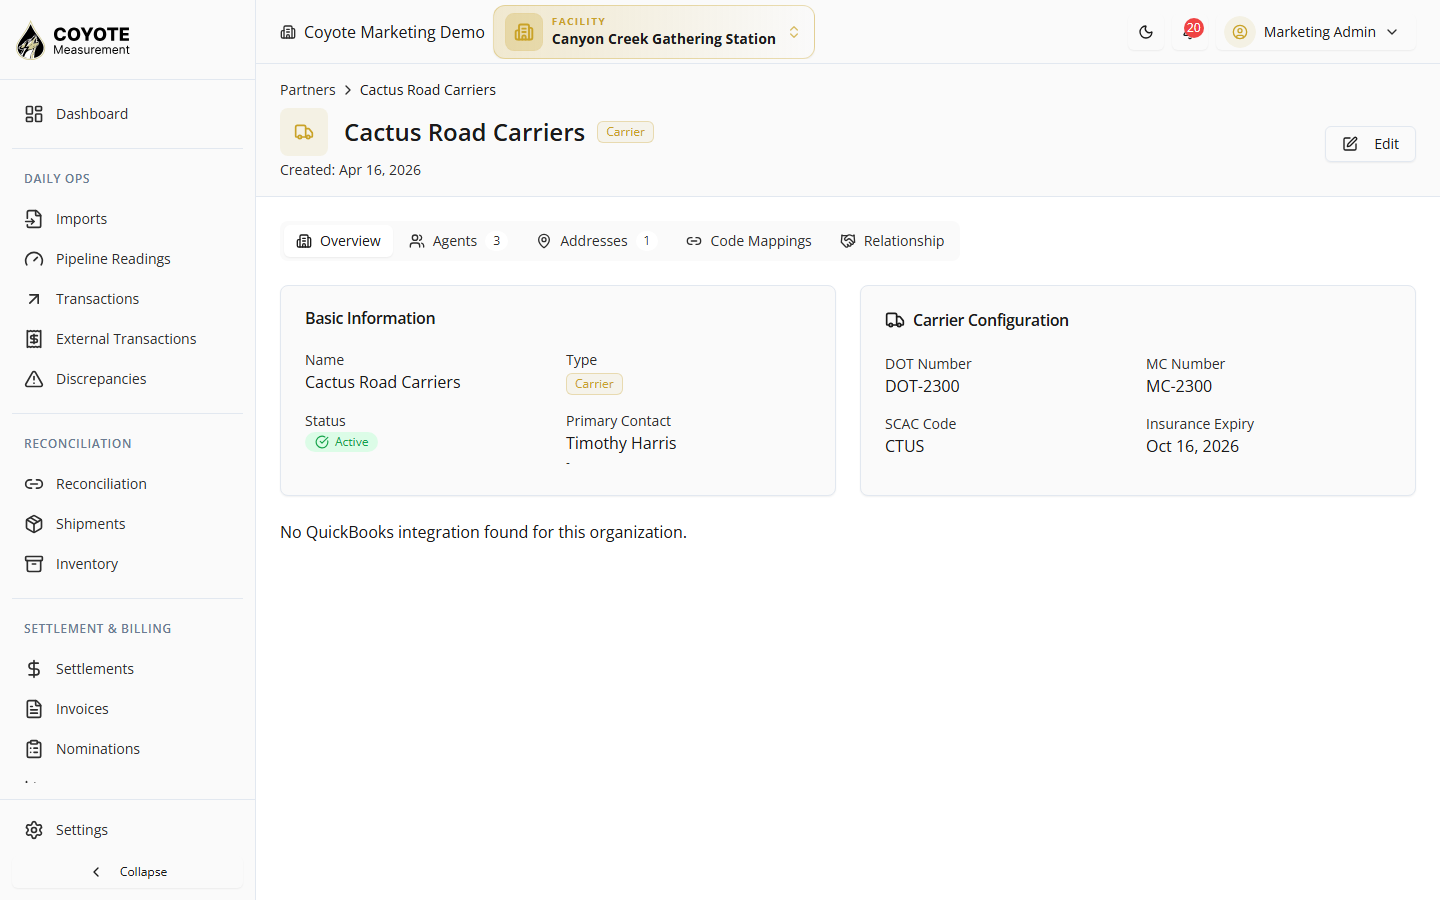
| Coyote partner role | Map to QBO | Required for |
|---|---|---|
| Customer (AR) | QBO Customer | Pushing Customer Invoices |
| Vendor (AP) / Carrier | QBO Vendor | Pushing Carrier Settlement bills |
- Click Map to QBO Customer or Map to QBO Vendor.
- Search by name in QuickBooks.
- Select the matching customer or vendor.
A partner can have both mappings if they are both a customer and a vendor in your books.
Ensure the QBO customer or vendor already exists in QuickBooks (or create it in QBO first), then search and map it in Coyote.
Step 6 — Generate and approve charges
QuickBooks does not replace charge calculation in Coyote.
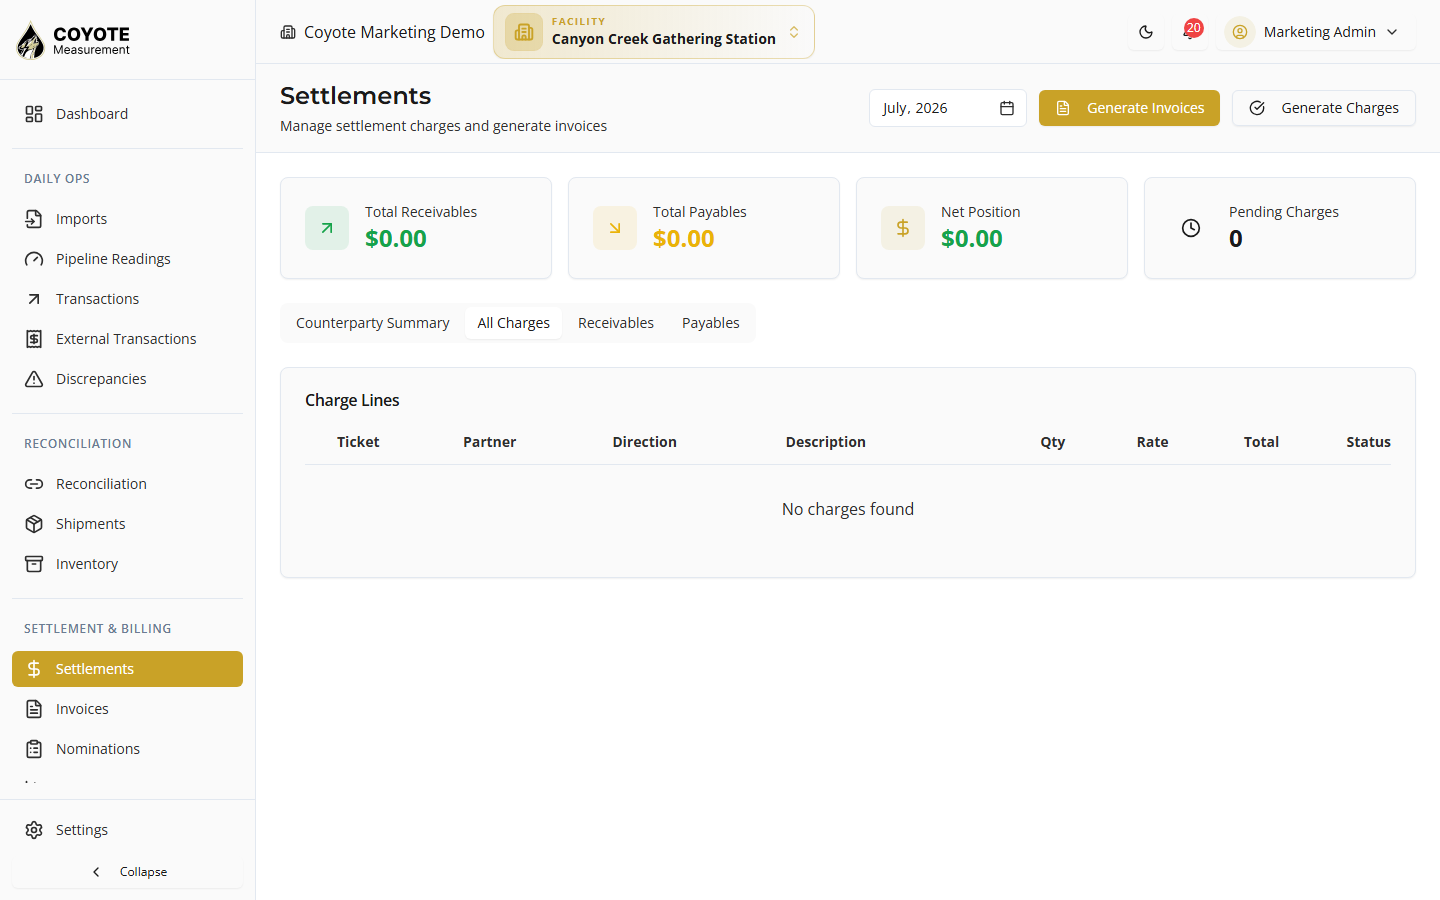
- Go to Settlement & Billing → Settlements.
- Select the correct month for your transaction dates.
- Click Generate Charges.
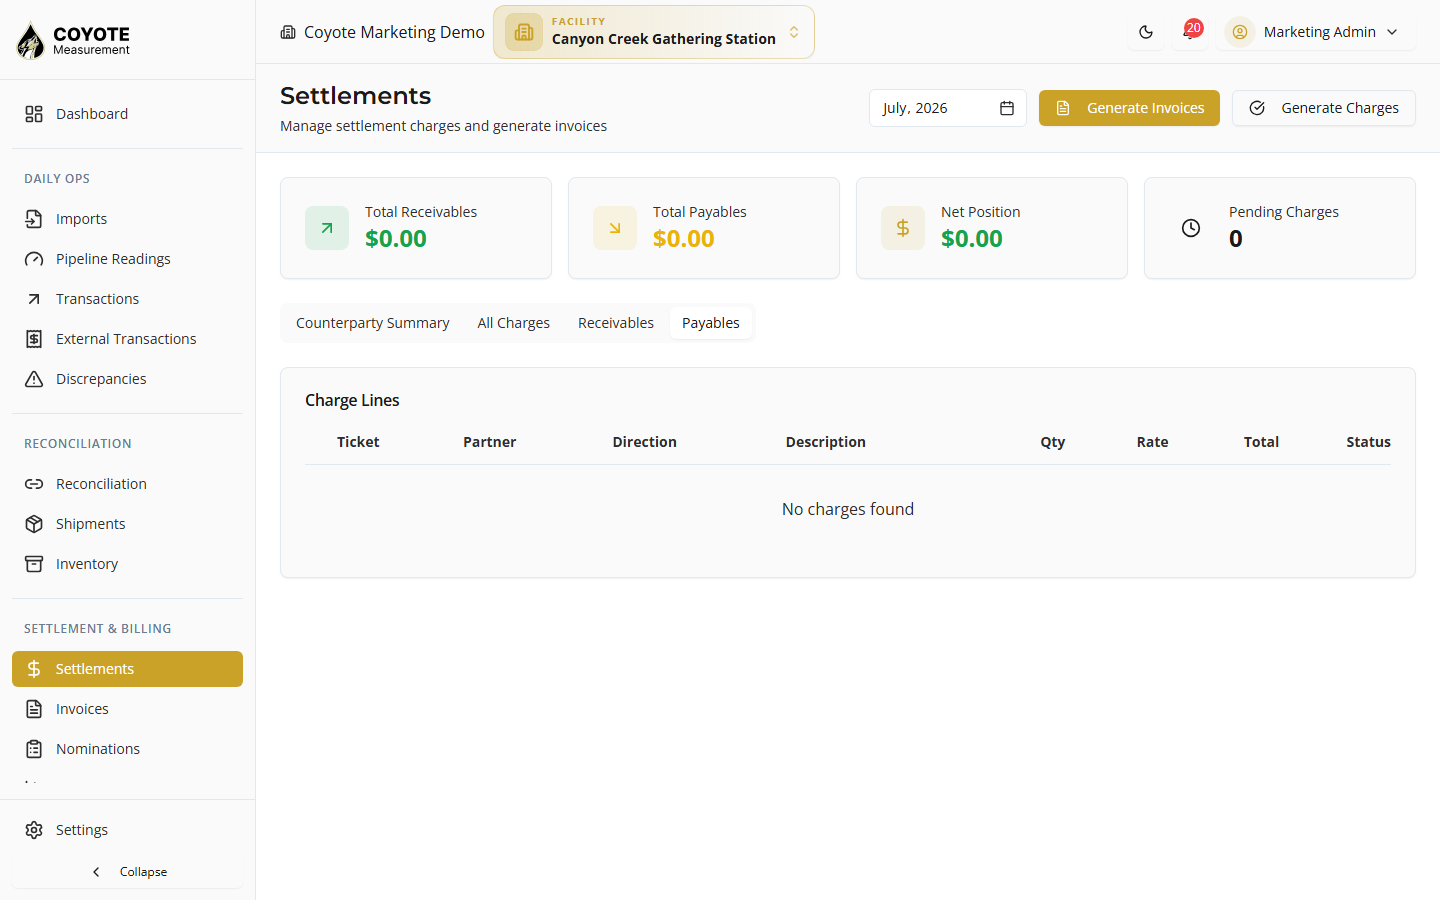
- Open Payables (or Receivables as applicable).
- Approve the charges you want to invoice.
Only approved charges can be included in invoices.
| Charge status | Meaning |
|---|---|
| Pending | Generated, not yet approved |
| Approved | Ready to include in an invoice |
| Invoiced | Linked to an invoice after Generate Invoices |
See Trucking / Hauling on the Site for the hauling setup through charge generation.
Step 7 — Generate invoices
- On the Settlements dashboard, set the month to match your charge period.
- Click Generate Invoices.
- Coyote groups approved charges by counterparty and direction, then creates one invoice per group.
| Invoice type | Charge direction | Invoice number prefix | QBO document |
|---|---|---|---|
| Customer Invoice | Receivable | INV- | Invoice (Sales → Get Paid → Invoices) |
| Carrier Settlement | Payable | SET- | Bill (Expenses → Bills) |
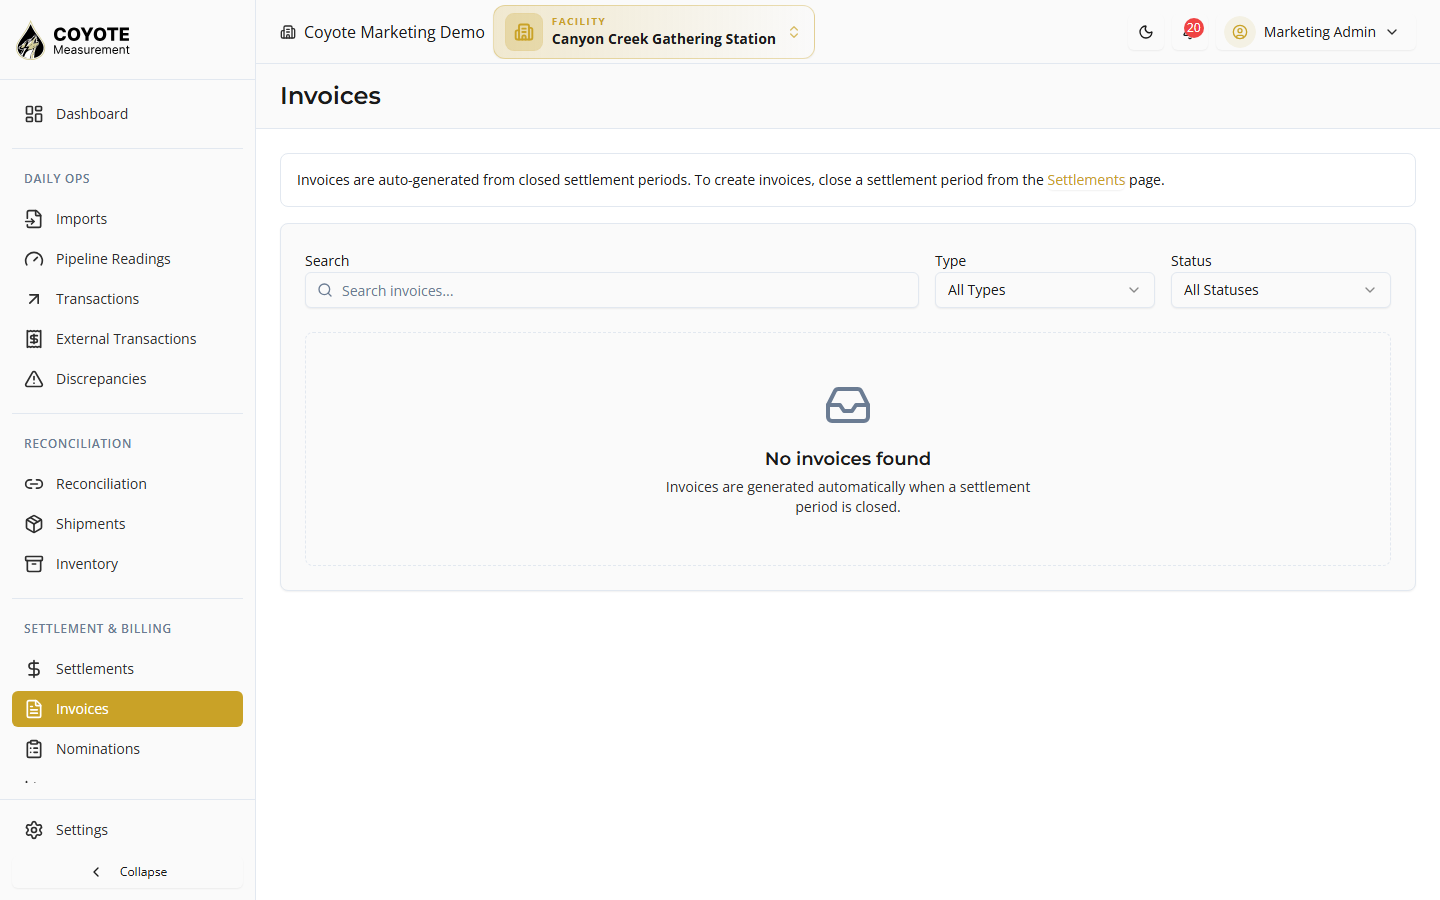
- Open Settlement & Billing → Invoices to review the list (filter by Carrier Settlement or Customer Invoice).
Carrier hauling payables appear as Carrier Settlement invoices (for example SET-202606-0001) — these are what you push to QuickBooks as Bills.
Step 8 — Approve invoices
- Open an invoice in Draft status.
- Review line items, partner, service period, and total.
- Click Approve.
| Invoice status | Can push to QuickBooks? |
|---|---|
| Draft | No — approve first |
| Approved | Yes |
Use the same Invoices list to open a draft invoice, then Approve and Push to QuickBooks from the invoice detail page.
Step 9 — Push to QuickBooks
You can push one invoice or many for a settlement period.
Option A — Single invoice
- Open the invoice detail page.
- Click Push to QuickBooks (or Re-sync to QuickBooks if already synced).
- On success, the invoice shows QuickBooks as the external system and stores the QBO id.
Option B — Batch push from Settlements
- Go to Settlement & Billing → Settlements.
- Confirm QuickBooks is connected (the Push to QuickBooks button appears).
- Select the same period as your invoices.
- Click Push to QuickBooks.
- Wait for the batch run to finish (progress shows on the button).
Coyote creates an integration run record for each push and reports success or per-invoice errors (for example missing partner mapping).
After a successful push, the invoice detail page shows QuickBooks — Synced with the QBO document id (externalId). Use Re-sync to QuickBooks to update an existing QBO invoice or bill.
Step 10 — Verify in QuickBooks Online
| Coyote type | Where to look in QBO |
|---|---|
| Customer Invoice | Sales → Get Paid → Invoices |
| Carrier Settlement | Expenses → Bills (or Expenses → Vendors → vendor → Bills) |
Match document number, amount, and vendor/customer to the Coyote invoice.
Trucking / hauling example (carrier AP)
For on-site hauling where you pay the carrier:
| Step | What you do |
|---|---|
| 1 | Carrier partner = Vendor + QBO Vendor mapping |
| 2 | Hauling transactions → Generate Charges → Approve |
| 3 | Generate Invoices → Carrier Settlement (SET-…) for the carrier |
| 4 | Approve invoice |
| 5 | Push to QuickBooks → creates a Bill in QBO |
| 6 | Confirm in QBO under Expenses → Bills |
Producer leases used only as origins do not need QBO Customer mapping unless you also invoice them in Coyote.
Troubleshooting
| Symptom | What to check |
|---|---|
| Push button missing | QuickBooks not connected on Integrations |
| Partner must be mapped to QBO Customer/Vendor | Open partner → QuickBooks Mapping and map the correct entity type |
| No default account configured | Integrations → QuickBooks → Mappings → set default expense account (bills) |
| No default item configured | Set default item for customer invoices |
| Push failed — invoice not approved | Approve invoice before push |
| Push failed — no line items | Invoice must have charge lines |
| Wrong document type in QBO | Customer Invoice → QBO Invoice; Carrier Settlement → QBO Bill |
| Re-sync | Open invoice → Re-sync to QuickBooks updates an existing QBO record when externalId is stored |
Optional — Webhooks (QBO → Coyote)
If you need updates made in QuickBooks to appear in Coyote, ask your administrator or support team whether webhook sync is available for your account.
Related topics
- Facilities — destination / site setup
- Partners — customers, vendors, carriers, QBO mapping
- Products — product catalog
- Trucking / Hauling on the Site — full hauling setup through charges
- Transactions — operational tickets
- Settlements — charges, invoices, settlement periods
- Integrations overview — all available integrations